
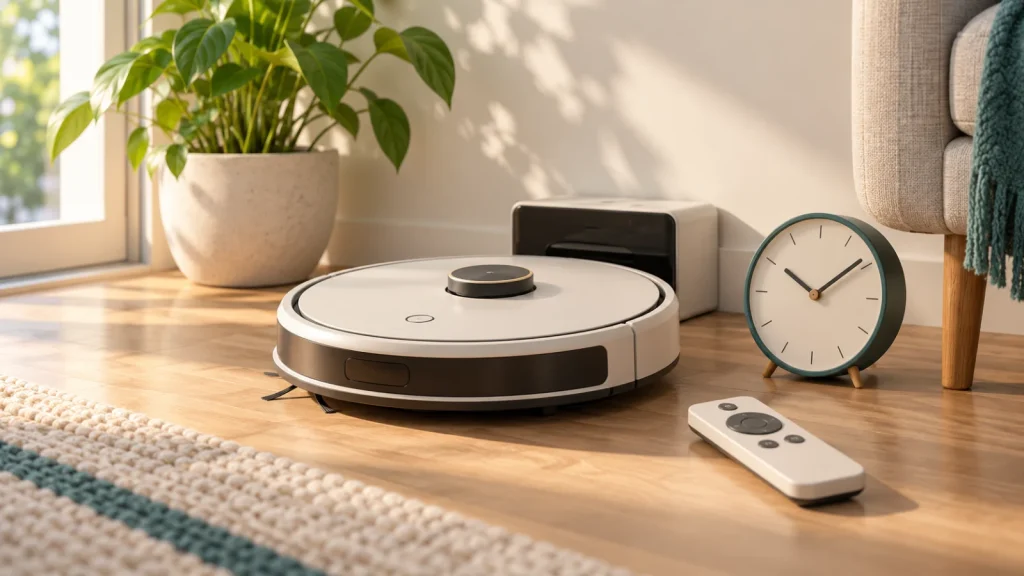
To schedule a robot vacuum without WiFi, you need a model with a timer that can be programmed locally, usually through its remote control. Having a CLEAN button or an included remote is not enough: some robots accept manual commands offline but depend on an app and online service for scheduled starts.
The eufy RoboVac 11S MAX and ILIFE V2 provide useful examples of local scheduling. Their controls differ, so there is no single button sequence that works for every robot. Start by identifying your exact model and remote, then follow the appropriate procedure below.
Check whether your robot actually supports an offline timer
Three capabilities are easily confused. Manual cleaning means you press a button when you want a run to begin. Remote control means a handheld controller can send supported commands nearby. Scheduling means the robot can start later without another command from you.
An offline timer needs a local method of programming that start time. An app calendar may look like a similar feature while using a different control path. Before spending time changing settings, look for a scheduling section in the exact model’s manual and check which controller it uses.
| Model or control type | What to establish | Practical implication |
|---|---|---|
| eufy RoboVac 11S MAX with its display remote | Local clock and scheduled-cleaning controls | Program the current time separately from the desired start time |
| ILIFE V2 | Which remote version was supplied | The no-screen shortcut differs from the screen-remote instructions |
| Tikom G8000 Max | App and server requirements for schedules | Offline manual cleaning does not make scheduled starts work offline |
| Another Wi-Fi-equipped robot | Exact manual, software and setup requirements | Do not borrow instructions from a similar-looking model |
For the broader difference between losing broadband and losing your local network, see which smart home features work without internet. This article focuses on programming the robot’s cleaning routine.
Before programming: make the first run easy to verify
Charge the robot according to its manual and make sure it can complete a short manually started clean. If it cannot start normally, a schedule will not solve the underlying charging, obstruction or fault problem.
Find the model number on the robot itself, rather than relying only on the retailer’s title. Then compare the buttons on your remote with the illustration in the supplied manual. Replacements and hardware revisions can change the available controls.
Choose a first test time when you will be present. Clear cables and small objects, make the intended area accessible, and check the manufacturer’s dock-placement instructions. You are testing whether the timer starts the robot, so avoid adding an unusually difficult route at the same time.
Keep a short note of the current clock setting, scheduled time and confirmation signal. That record helps distinguish an incorrect timer from a robot that started correctly and then stopped because it encountered a problem.
Set the eufy RoboVac 11S MAX timer
These steps apply to the display remote documented for the 11S MAX. Consult the 11S MAX support hub if your remote does not match. A shared manual may also discuss connected models; use the instructions for your model and controller.
- Turn the robot’s main power switch on and ensure it is charged.
- Use the remote’s clock-setting control to enter the current-time setting.
- Adjust the hour and minute with the directional controls. Check AM and PM if your display uses them.
- Save using the confirmation control shown in your manual. Listen for the robot’s acknowledgment.
- Enter the separate scheduled-cleaning setting, usually identified by the scheduling or bell symbol.
- Set the time you want cleaning to begin and save it. Confirm that the robot acknowledges this setting too.
The manufacturer-authored 11S/11S MAX manual documents separate time and schedule settings, with a beep when each is saved. The readable copy linked here is hosted by a third party.
Cancel or correct an eufy schedule
Eufy’s non-Wi-Fi scheduling instructions specify holding the schedule button for three seconds until the robot beeps twice and the schedule symbol disappears. Keep the remote pointed at the robot, within the documented three-meter range and without an obstruction.
Correct the actual clock before entering a replacement start time. For example, a robot whose clock is twelve hours wrong can appear to ignore an 8 a.m. schedule while actually attempting to follow a different time of day. Changing only the scheduled hour leaves that underlying error in place.
After programming, observe the next start. Treat the acknowledgment and successful run as separate checks: one confirms the command was received, while the other shows the routine works in the robot’s current condition.
Schedule an ILIFE V2 with the no-screen remote
ILIFE’s V2 FAQ describes a shortcut for the remote without a display:
- Put the V2 on its charging station at the time you want its daily cleaning to begin.
- Double-press the remote’s Home button.
- Listen for two beeps confirming the setting.
- To change the daily start, repeat the double-press at the new desired time.
- To cancel it, triple-press Home and listen for one beep.
This shortcut repeats from the time the command is issued. For the screen remote, ILIFE instead directs owners to page 18 of the corresponding manual; use that version’s procedure.
Keep the V2’s main switch on for its routine. ILIFE says switching it off or completely exhausting the battery cancels the preset schedule.
Why these steps will not create an offline Tikom schedule
The Tikom G8000 Max can accept cleaning commands from its remote, but its manufacturer-authored manual places scheduling in the app. The troubleshooting section explicitly says scheduled cleaning will not start offline because the Tuya server sends the command at the scheduled time.
Consequently, creating a calendar entry while connected and then disconnecting the robot does not meet this model’s documented scheduling requirement. If you need a completely network-free timed routine, choose a robot with a verified local timer rather than looking for an undocumented remote shortcut.
This is a model-specific limitation. It should not be extended to every robot using a remote, every Tikom model or every app-controlled appliance. The useful question is where this exact robot gets its scheduled-start command.
If your current robot lacks the timer you need, our buying guide to robot vacuums for offline use compares the documented controls and limitations of alternative models.
Troubleshoot a missed scheduled start in the right order
Start with the simplest observable failure. Eufy’s remote-schedule troubleshooting page emphasizes charge, the main switch, the actual clock and unobstructed remote communication. Those checks are more useful than repeatedly changing the desired cleaning time.
| What you observe | First check | What to do next |
|---|---|---|
| No acknowledgment while programming | Remote batteries, aim and distance | Repeat the documented save procedure nearby |
| A run starts at the wrong hour | Current clock and AM/PM | Correct the clock, then re-enter the scheduled time |
| The timer stopped after shutdown | Model-specific reset behavior | Restore the clock and routine as directed |
| The robot starts, then stops | Error indication, trapped wheels or an obstruction | Resolve the operating fault before testing the timer again |
| A scheduled clean works only while connected | App or cloud dependency | Check whether offline scheduling is actually supported |
Change one thing at a time. If you replace remote batteries, reset the clock and move the dock together, a successful run will not tell you which change mattered. A simple troubleshooting note is especially helpful when assisting a relative remotely.
If manual cleaning works but the schedule still fails, record the exact model, remote version, clock display and confirmation sounds before contacting support. Those details give the manufacturer a better starting point than “the timer doesn’t work.” Avoid a factory reset unless the model’s instructions call for it and you understand which settings will be lost.
Build a routine that fits the household
The easiest time to program is not always the best time to clean. Consider when the route will be clear, when someone can notice a jam, and whether noise will interrupt work or sleep. A routine that repeatedly begins while chairs, toys or charging cables block the floor creates avoidable interruptions.
For the first few scheduled runs, inspect the bin and cleaning head afterward. If the bin fills early or hair gathers quickly, adjust the maintenance routine before depending on unattended starts. Our robot-vacuum cleaning guide explains the relevant checks. In homes with shedding pets, our robot vacuum picks for pet hair also compare self-emptying docks and tangle resistance.
Leave a small written note near the dock with the programmed time and cancellation method. That is particularly useful when several people share the space. Someone pressing a timer button while trying to send the robot home can otherwise create a routine nobody remembers setting.
After changing the clock for travel, a seasonal time change or a power-related reset, confirm the next scheduled run again. Do not assume an entirely offline timer automatically knows about a clock change that nobody entered.
Questions about offline scheduling
Can I program different times for different weekdays?
Only if the exact controller and robot support that calendar. A daily repeating timer is not a seven-day schedule. If your remote offers only a single start time, do not assume there is a hidden weekday mode. Check the manual before buying a replacement controller or relying on a routine that changes between workdays and weekends.
Does sending the robot home cancel its schedule?
Docking, pausing a clean and canceling a timer are different commands. Use the documented cancellation procedure and confirm its acknowledgment. If a robot starts unexpectedly the next day, check for an active schedule before concluding that the dock command failed.
Can a smart plug add scheduling to any robot?
Turning a dock’s electrical supply on does not necessarily issue a cleaning command. It can also interfere with charging or time retention. Use a documented timer or control integration for the exact model rather than assuming power cycling creates a safe, reliable cleaning schedule.
Make the timer prove itself
A dependable offline routine starts with three confirmations: the model supports a local timer, the programming command reaches the robot, and a scheduled run starts successfully in your home. Once those are established, a simple daily timer can be useful without an app. If the robot’s schedule depends on an online service, recognize that limit before spending time trying unsupported button combinations.

Ryan Hayes
Founder & EditorRyan Hayes is the founder and editor of Smart Space Advisor, where he researches and evaluates smart home technology to help readers make informed buying decisions. His work focuses on smart security, video doorbells, smart plugs, lighting, and connected-home platforms including Matter, Alexa, Google Home, and Apple Home. By combining product research, manufacturer documentation, feature comparisons, and real-world considerations, Ryan aims to cut through technical jargon and provide practical, straightforward advice about which smart home products offer genuine value.